
How to Track Cycling Stats Easily: A 2026 Guide
Table of Contents
- What You'll Need Before Your First Tracked Ride
- Step-by-Step: How to Track Cycling Stats Easily
- Essential Cycling Metrics for Improvement
- Best Cycling Apps for Beginners
- Bike Computer vs Smartphone for Tracking
- Syncing Your Data and Setting Goals That Stick
- Common Mistakes and Troubleshooting Tracking Errors
- Conclusion
- Frequently Asked Questions
Last Updated: September 21, 2026
What You'll Need Before Your First Tracked Ride
Learning how to track cycling stats easily starts with one decision: what device will capture your ride. A phone, a free app, and a handlebar mount cover most riders for months. The Beeline Velo team has watched thousands of commuters start this way, and the pattern holds: simple setups get used, complicated ones get abandoned.

Most beginners need three things:
- A phone with GPS and a charged battery
- A secure handlebar mount
- One tracking app you actually understand
Hardware-Free Setup: Phone Only
Your phone already contains everything required to record a ride. Modern phones lock onto GPS signals in seconds and log speed, distance, and route without extra gear. Mount the phone where you can glance at it, or stow it in a pocket and let the app run in the background. According to official GPS.gov information on how GPS works, the satellite network behind phone tracking is free to use and needs only a clear view of the sky.
Adding a Dedicated Device or Sensors
A dedicated device, like a bike computer or a compact unit such as the Beeline Velo 2, keeps your phone safe in your bag while still showing speed, distance, and turn-by-turn directions. Sensors go further: a heart rate strap or cadence sensor pairs over Bluetooth and adds data your phone alone cannot capture. Start with the device, and add sensors only when a specific number starts mattering.
Step-by-Step: How to Track Cycling Stats Easily
The fastest path from unboxing to a saved ride takes about ten minutes. Follow these three steps in order.
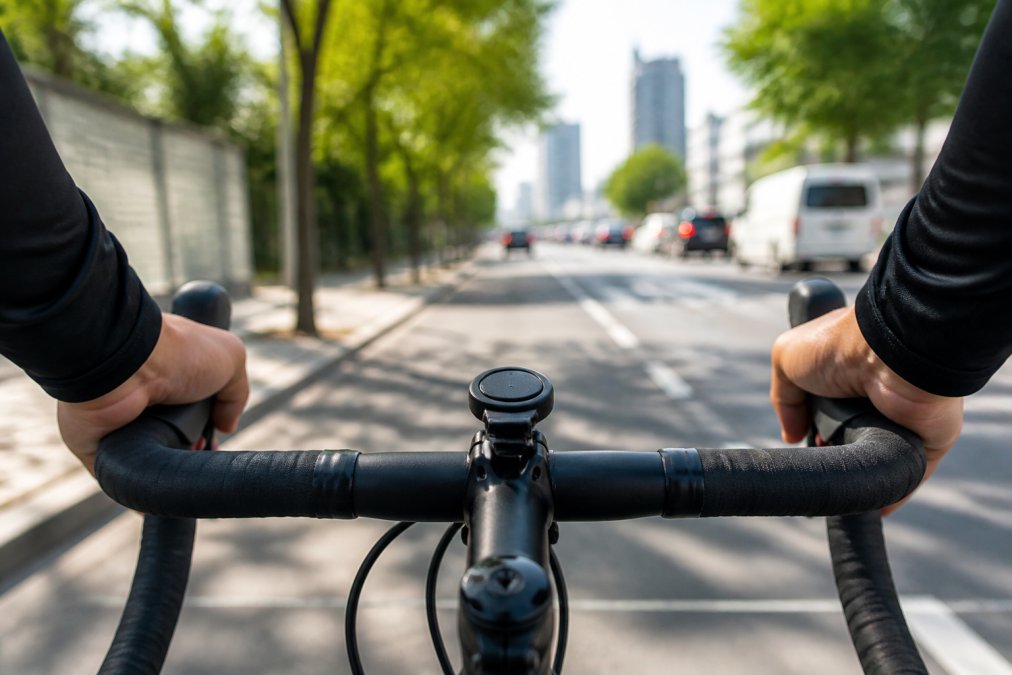
Step 1: Pick Your Tracking Method
Choose one method and commit to it for a month. Switching apps weekly scatters your ride history and makes progress impossible to see.
| Method | Cost | Best For | Main Drawback |
|---|---|---|---|
| Phone only | Free | Casual riders, short commutes | Battery drain on long rides |
| Phone plus mount | About $20 | Daily commuters | Phone exposed to weather |
| Dedicated device | Around $99 | Riders who want the phone stowed | One more thing to charge |
Step 2: Mount, Pair, and Calibrate
Attach your mount to the handlebars or stem and tighten it until the device cannot shift. Power on your device or open your app and let it find satellites before you ride, 30 to 60 seconds outdoors. Pair any sensors now, not mid-ride: spin the cranks once to wake a cadence sensor and check for a live reading before you set off.
Step 3: Start, Pause, and Save Your Ride
Press start, then ride. Most apps handle the rest. Auto-pause stops the clock when you stop moving, so traffic lights do not distort your average speed. When you finish, press save and name the ride: "Tuesday commute" tells you nothing in three months; "River loop, windy" tells you everything.
Essential Cycling Metrics for Improvement
| Metric | Unit | Captured by phone alone? | What it tells you |
|---|---|---|---|
| Distance | miles | Yes (GPS) | Volume of work |
| Moving time | hours:minutes | Yes (GPS + auto-pause) | Duration of effort |
| Average speed | mph | Yes (GPS) | Overall pace, distorted by stops unless auto-pause is on |
| Elevation gain | feet | Yes (GPS + barometric altimeter on most modern phones) | Why a short ride felt hard |
| Heart rate | beats per minute | No, needs a chest strap or optical armband | How hard your body actually worked |
| Cadence | revolutions per minute | No, needs a cadence sensor or a power meter | Pedaling efficiency |
- Cadence: 80-90 rpm on flat ground is a common target. If you cannot hold it in your current gear, shift down.
- Heart rate: You do not need a precise zone model to start. A simple check, could you hold a conversation at this effort?, separates easy rides from hard ones without any sensor at all.
- Elevation: Track it, but do not chase it. A hilly 10-mile ride and a flat 20-mile ride can produce similar training stress.
Track these numbers for a month before adding anything else. The goal is not to collect data but to notice patterns: a rider who logs distance, time, and average speed for 30 days learns more than one who buys a power meter on day one and never looks at the file.
Best Cycling Apps for Beginners
The best cycling app for a beginner is the one with the fewest screens, a clean interface beats a feature list because you will actually use it. Look for reliable GPS tracking, an easy start-and-stop flow, a readable ride summary, and a clear privacy policy.
Bike Computer vs Smartphone for Tracking
A bike computer wins on battery life, weather resistance, and always-on readability in bright sun. A smartphone wins on cost, maps, and one less device to charge. For a 20-minute commute, your phone is fine; for a three-hour weekend ride, a dedicated unit earns its place. The middle ground is a compact device like the Beeline Velo 2, which pairs with your phone for route planning but keeps the screen on your bars.
Syncing Your Data and Setting Goals That Stick
Data sitting on one device helps nobody, but the sync decision is also where beginners accidentally overspend. Here is the framework that keeps your ride history and your wallet intact.
Free vs. Premium: What You Actually Get
Nearly every major tracking app offers a free tier covering the basics: GPS recording, ride history, distance and speed summaries, and automatic upload to a central account. For a casual rider logging two or three rides a week, that is sufficient, you do not need to pay to track mileage.
Premium tiers typically add three categories of features:
- Training analysis, heart rate zone breakdowns, training load scores, and recovery suggestions. Worth it only if you are following a structured plan.
- Live segments and leaderboards, real-time comparisons against other riders on the same stretch of road. Worth it if competition motivates you; a distraction if it does not.
- Advanced route tools, turn-by-turn navigation on custom routes, offline maps, and weather overlays. Worth it if you ride unfamiliar roads regularly.
How Syncing Actually Works
Most apps push your ride to a central account automatically the moment you save it, provided your phone has a data connection. Without signal, the upload queues and completes the next time you are online. The friction point is cross-platform syncing: to get a ride into a separate fitness platform, enable that connection once in the app's settings menu.
Privacy Zones: Set These Before Your First Upload
This is the step most guides skip, and it matters most. Many apps default to public sharing, so every ride you save broadcasts your start and end points, for most riders, home and workplace. Over a week of uploads, that pattern draws a precise map to your front door.
Goals That Actually Stick
Once your data lives in one place, set goals that are small and countable. "Ride more" fails because it has no finish line; "three commutes a week" succeeds because you know by Friday whether you hit it. Add one longer weekend ride per month, and increase weekly mileage by no more than ten percent at a time, a widely used guideline for avoiding overuse injuries.
Common Mistakes and Troubleshooting Tracking Errors
Most tracking problems trace back to four causes. Fix these and your log stays clean.
- GPS drift: Ride under trees or tall buildings and your route wobbles. Give the app a minute in open sky before starting.
- Dead sensors: A cadence or heart rate strap that shows no reading usually needs a new battery or a fresh pairing.
- Forgotten saves: Rides lost because the app was closed before saving. Save before you take your helmet off.
- Wrong activity type: A ride logged as a walk skews every metric. Check the activity type in your first week.
Conclusion
Tracking your rides only pays off when the setup is simple enough to use every day. Complicated gear gets left at home, and unused gear teaches you nothing. Beeline Velo builds for exactly this problem: a compact device, a bright screen, and an app that handles turn-by-turn navigation and activity tracking without a manual. The Velo 2 ships with a universal mount, and the stem cap mount option keeps your bars clean.

Frequently Asked Questions
Do I need a dedicated GPS device to track cycling stats?
No. A smartphone with a free app can log distance, speed, elevation, and route using its built-in GPS. A dedicated device like the Beeline Velo 2 ($99) adds a bright always-on screen, longer battery life, and handlebar mounting so you don't drain your phone or stop to check it. Start with your phone if you're curious; add hardware when you want fewer distractions.
What are the most important cycling metrics to monitor?
Start with four: distance, average speed, elevation gain, and ride time. These cover most fitness and commute goals. As you progress, add cadence (pedal revolutions per minute) and heart rate to gauge effort. Power output matters for structured training but requires a separate meter. Tracking too many metrics early makes the data noisy, so pick a few and review trends weekly.
Is it better to use a smartphone app or a bike computer for tracking?
It depends on your ride length and how much you check your phone. Phones win on cost and app variety but drain battery fast on long rides and are awkward to mount. A bike computer or dedicated device like the Beeline Velo 2 keeps navigation and stats visible without pulling out your phone. For commutes under an hour, a phone works fine. For longer or more frequent rides, dedicated hardware is worth it.
How can I sync my cycling data to fitness platforms?
Most cycling apps export rides to Strava, Apple Health, Google Fit, or Garmin Connect automatically through account linking. Check your app's settings for a 'connected apps' or 'sync' menu and authorize the platforms you use. Bluetooth sensors pair directly with your phone or device, so data flows into the app first, then out to your fitness platform. If a ride doesn't appear, re-authorize the connection or export the file manually.